Where This Job Goes Sideways
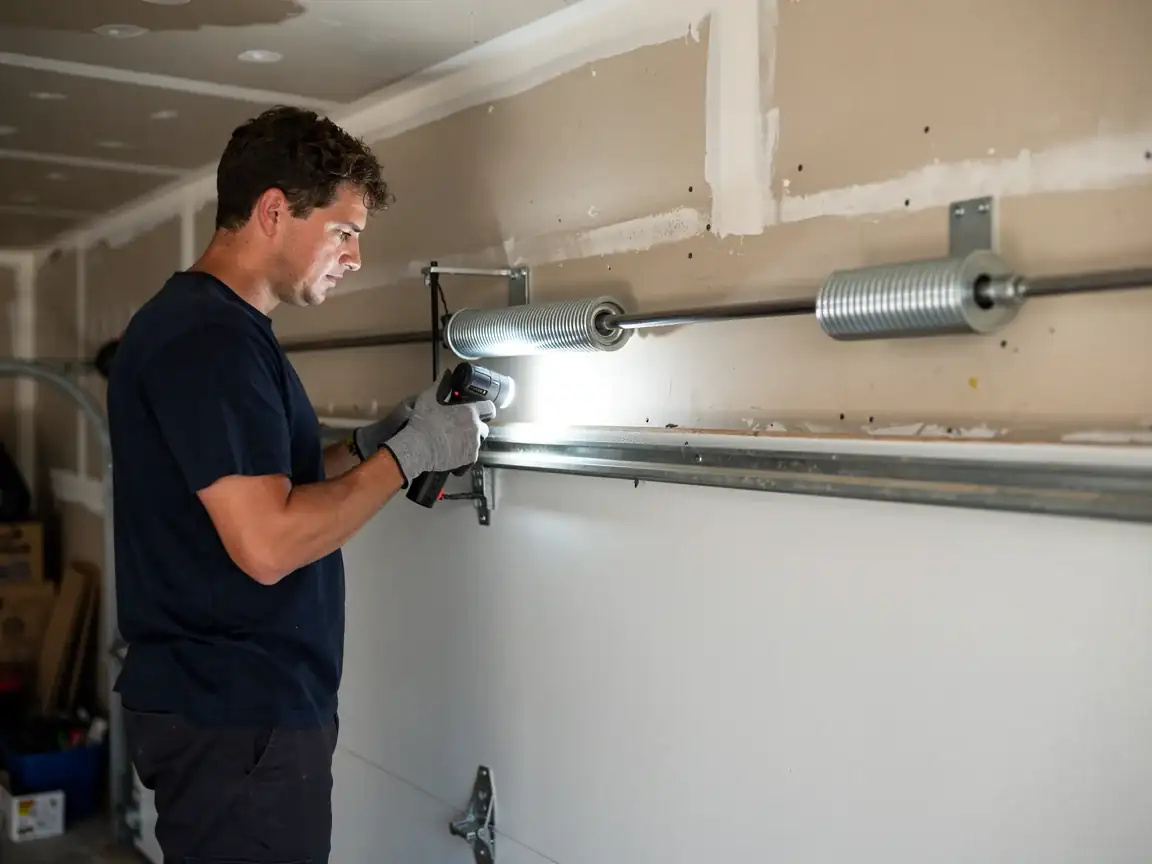
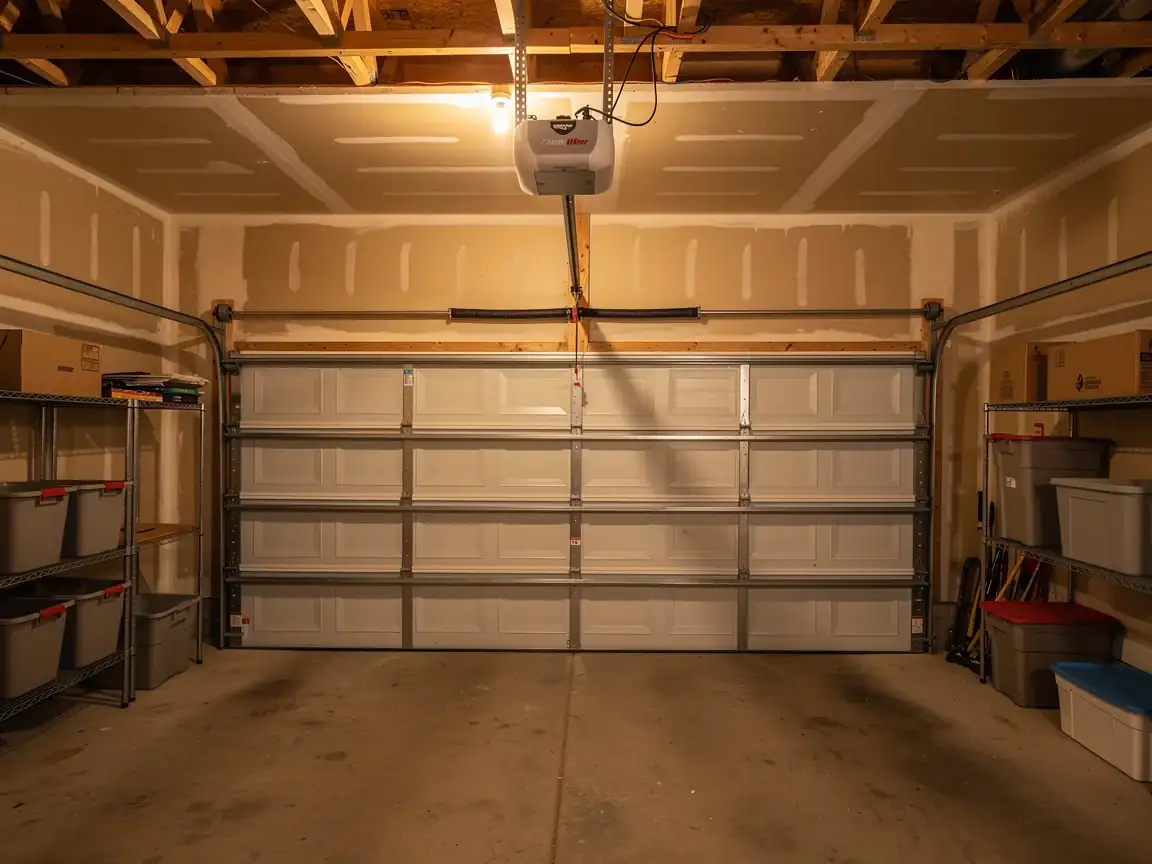
The most common snag on this job isn't the opener itself - it's the bracket it has to mount to. Houses built around 1984, which is the median build year here, were framed with a wood header that's had forty-odd winters of cold-moderate humidity working on it. The lag bolts go in fine. Six months later the bracket's pulled loose because the wood underneath was never as solid as it looked. We check that bracket before we hang anything, and if it needs reinforcing, we say so before we start, not after the opener's already up. The second place this goes wrong is wiring: a lot of these garages were never run with a dedicated circuit, so the opener ends up sharing a line with something else in the house, which trips breakers under load. Neither of these is rare. Both are checkable in five minutes if you know to look.
What Causes It Around Here
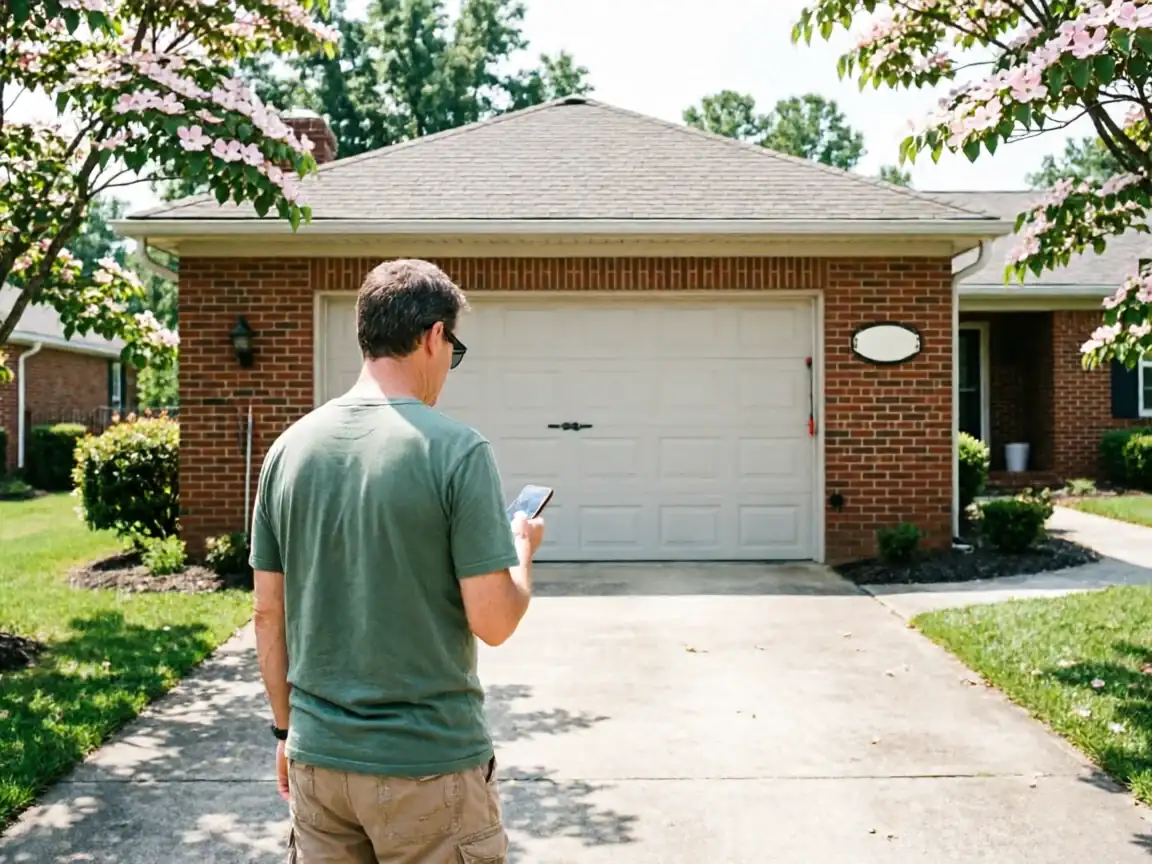
Most of the houses we work on in Mount Pleasant went up around 1984, a few years ahead of the broader area median of 1987 across our service territory. That matters for openers because doors from that era were built for chain-drive units with mechanical limit switches - no photo-eye safety sensors, no rolling code, often no battery backup. When a homeowner upgrades now, we're not just swapping a motor head. We're usually adding safety sensors that didn't exist on the original setup, rerouting a wire harness that was never meant to carry them, and sometimes replacing a curved rail bracket that was cut for a different drive style. Cold-moderate winters add a second layer: condensation on an uninsulated steel door shortens the life of belt-drive units that aren't rated for it, which is part of why we ask about door material before recommending a specific opener.
What You Pay
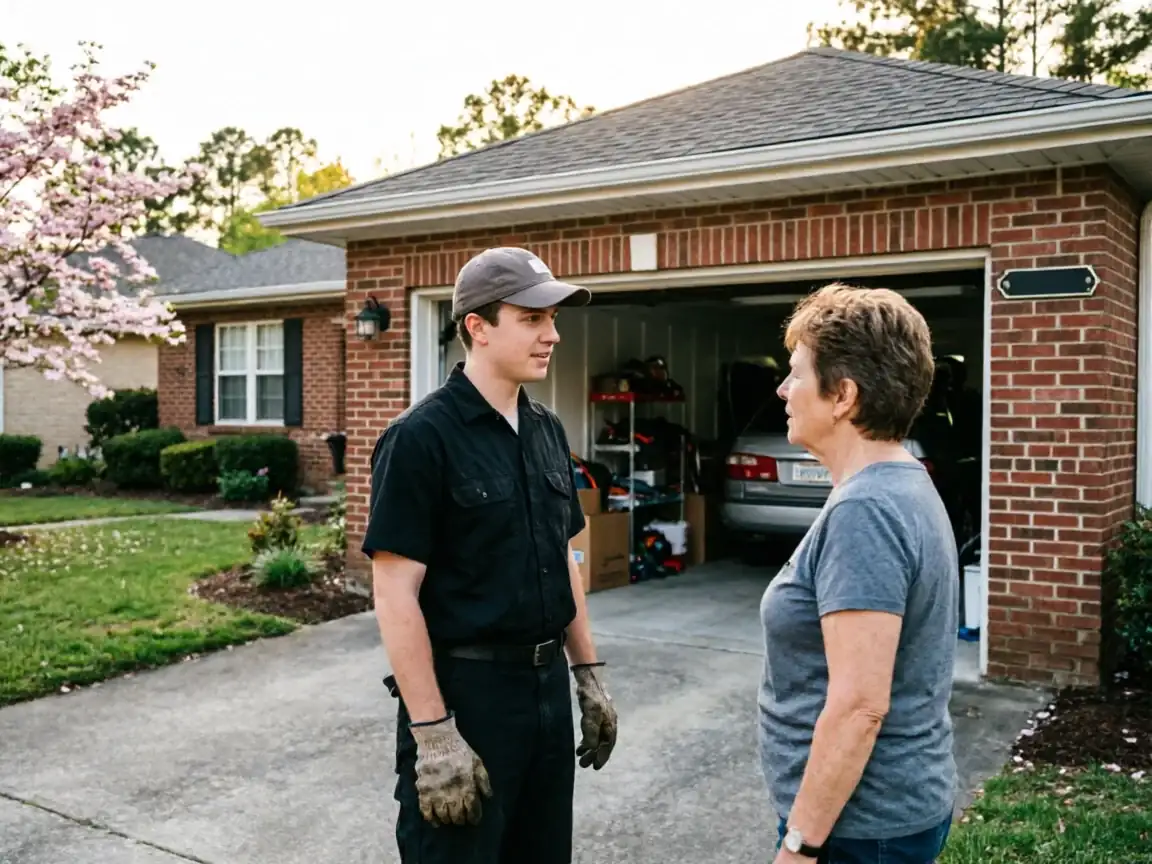
We don't have a flat number to post here, and giving you one without seeing the door and the bracket would be a guess dressed up as a quote. What drives the price on this job is usually the bracket condition, whether new wiring is needed, and which opener drive you pick - chain, belt, or screw. A straightforward swap onto an existing sound bracket costs less than a job where we're also reinforcing a header or running a new circuit. Call and describe your setup, including the door's approximate age, and we'll give you a real number before any truck rolls. We'd rather quote accurately once than low-ball it and revise on site.
What the Fix Involves
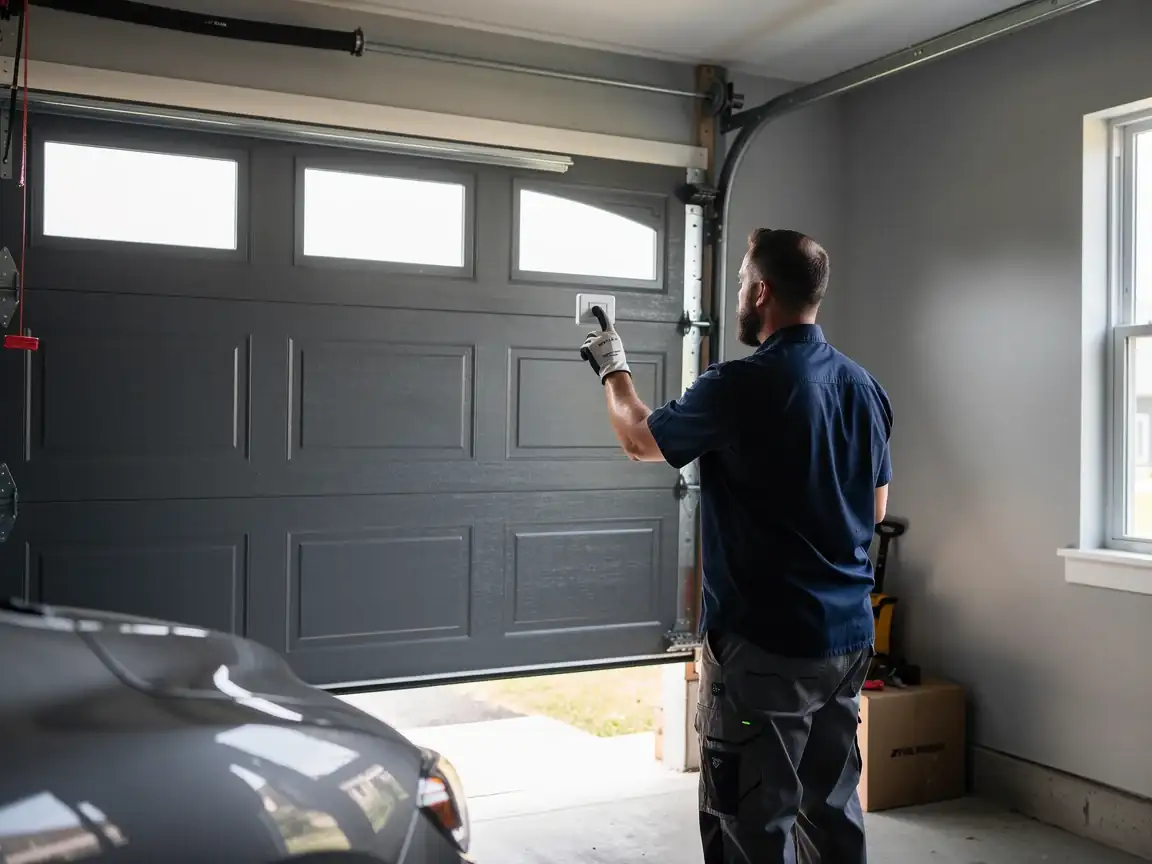
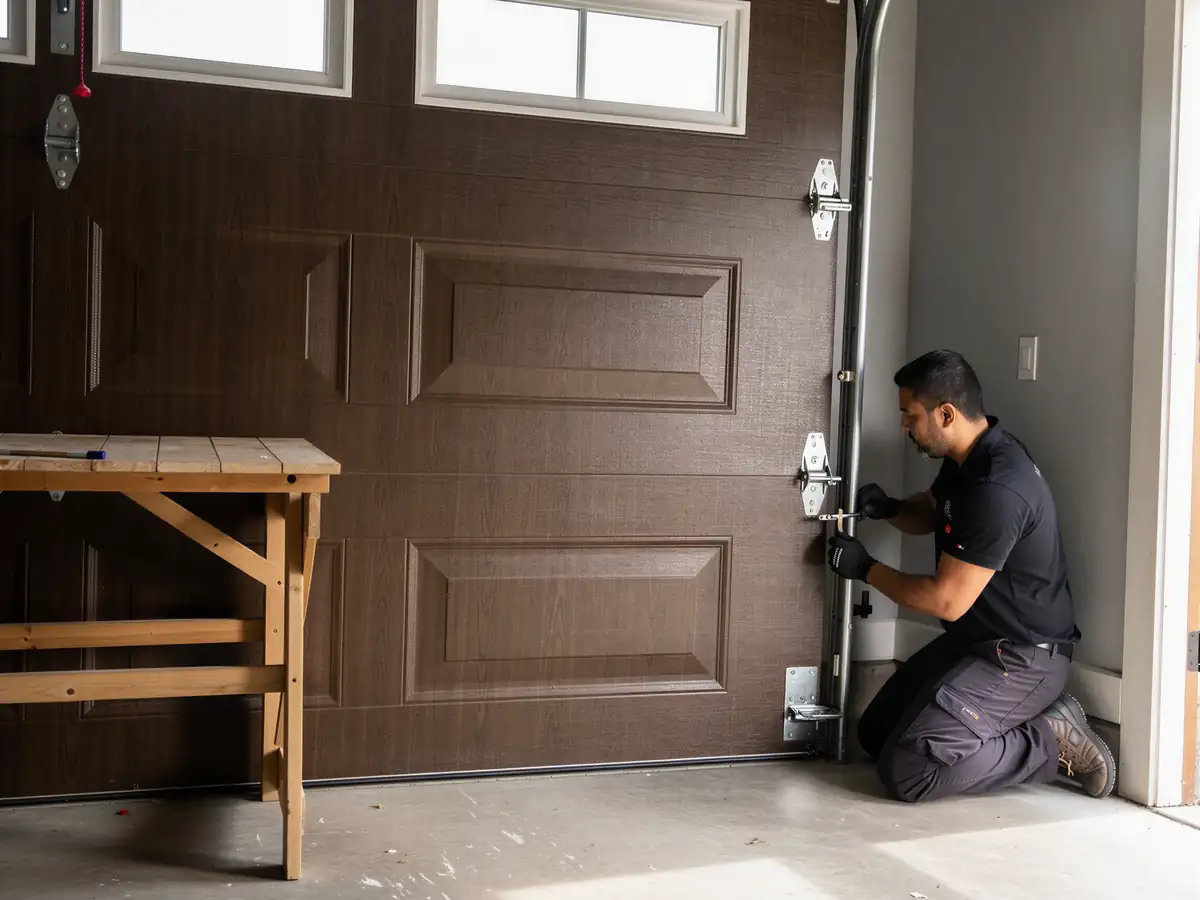
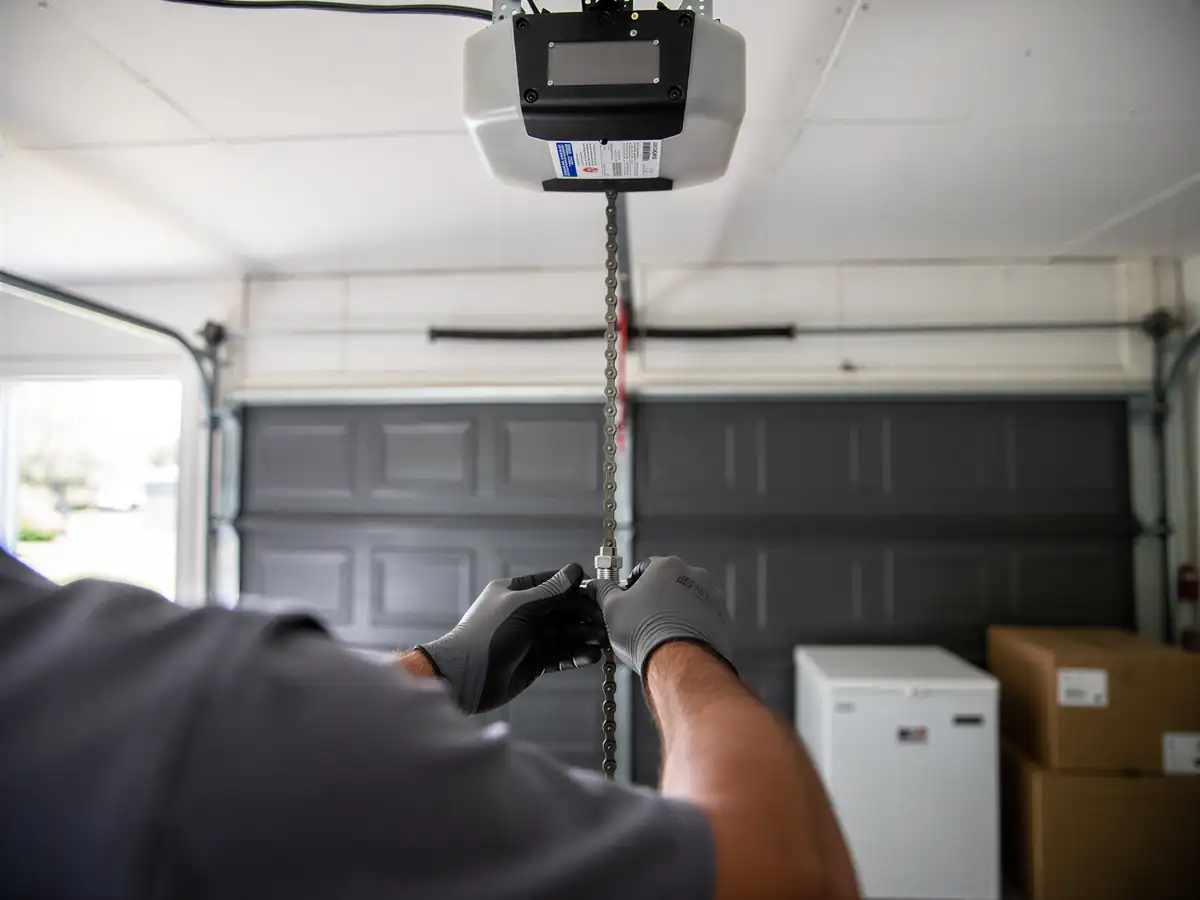
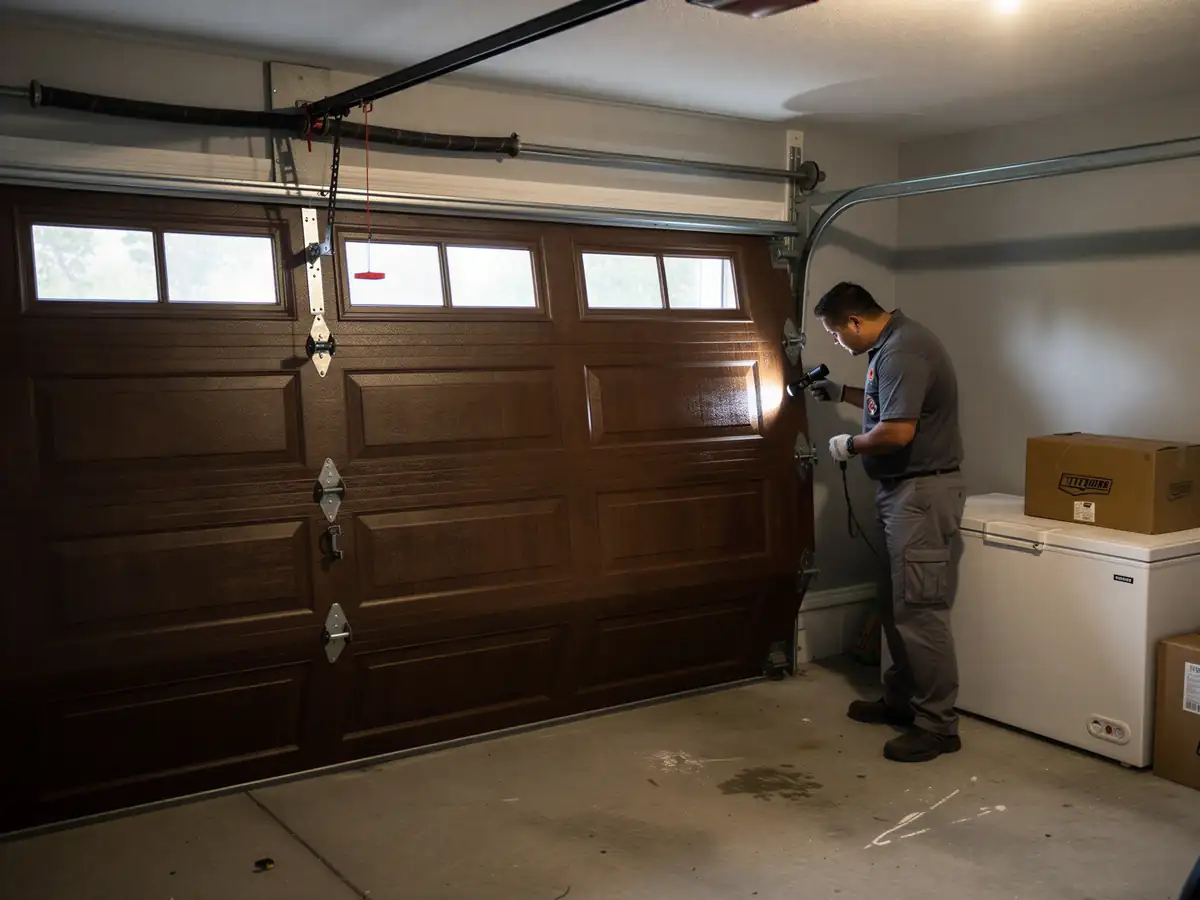
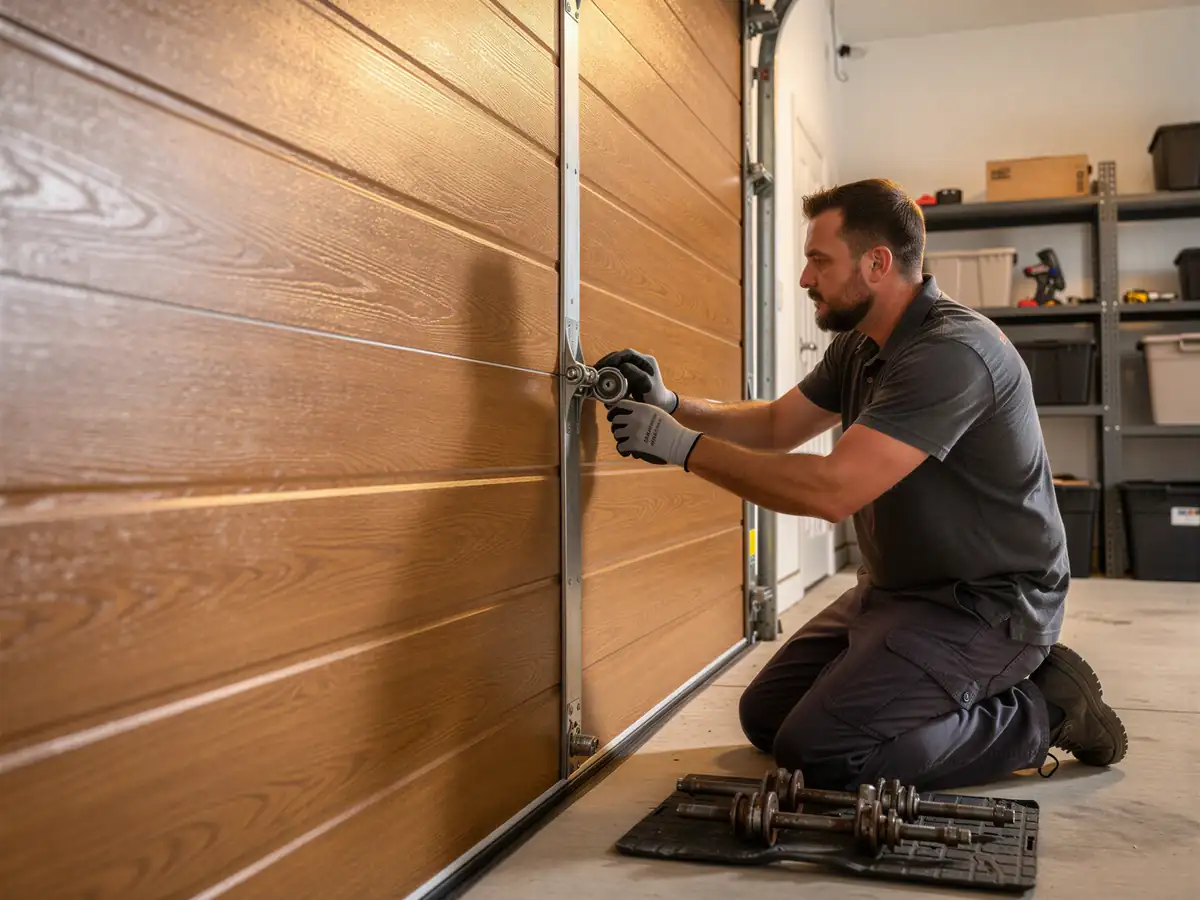
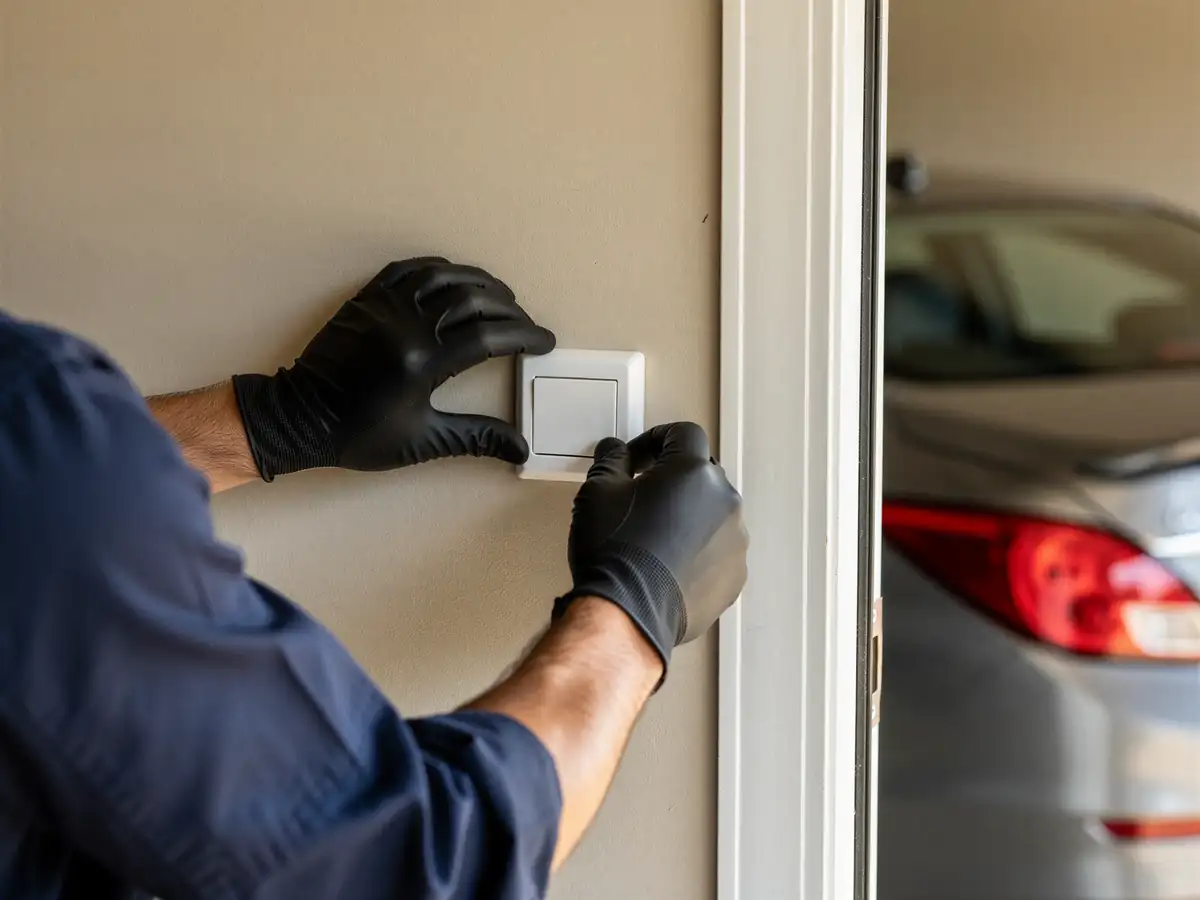
On a typical Mount Pleasant install, we start by checking the header bracket under load before we hang anything - if it's original to a mid-80s build, that's the first thing we test. Next is the rail and carriage, sized to your door's travel distance, then the motor head itself, wired to a dedicated circuit if one doesn't already exist. We mount and aim the safety sensors at the base of the track, low enough to catch a pet or a toy, and we run the door through a full open-close cycle checking for binding on the rollers, which on an older door often need replacing at the same time. Last is the force and limit setting - getting the door to seat firmly without straining the new motor. We test it cold if the garage is unheated, since that's where underpowered settings tend to show up first.